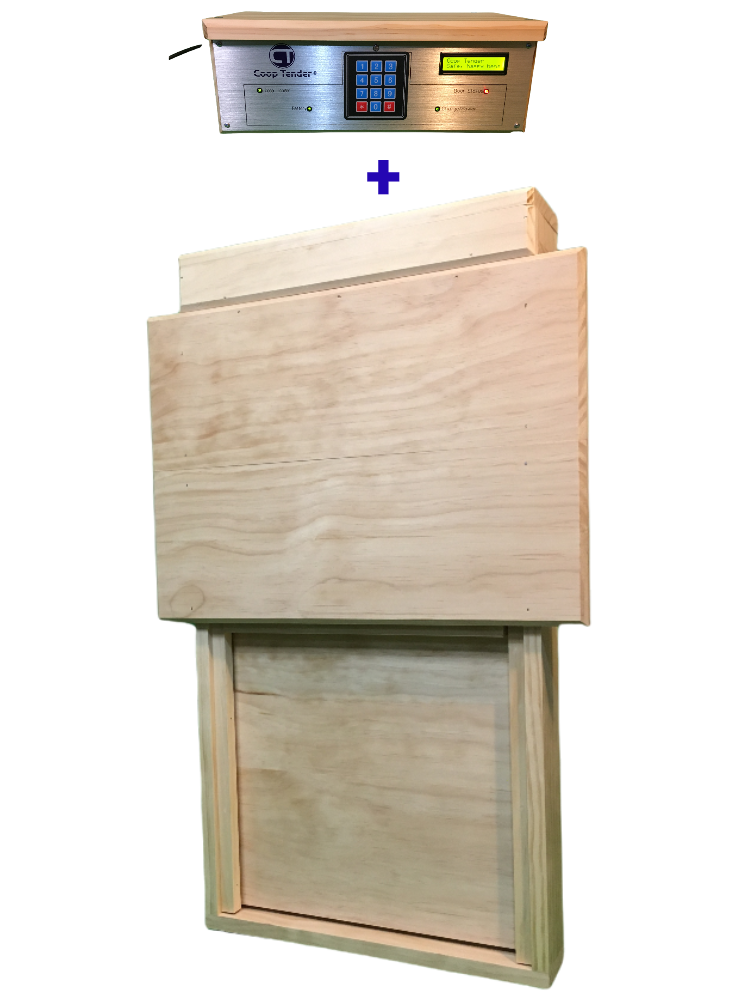
If you're looking to upgrade your chicken coop, a chicken coop solar door is an efficient and convenient solution that can make your life easier while enhancing the comfort and security of your chicken flock. In this guide, we’ll walk you through the steps for installing a solar chicken coop door, ensuring you understand everything from selecting the right door to finalizing the installation.
Why Choose a Solar Chicken Coop Door?
Before delving into the installation process, let’s explore the advantages of a solar chicken coop door. These automatic doors are powered by solar energy, which ensures they operate without the need for an external power supply. The benefits include:
- Energy-Efficiency: A solar chicken coop door harnesses sunlight to function, significantly reducing energy costs.
- Convenience: Automatic doors open and close based on time or light sensors, allowing your chickens unrestricted access to their coop without manual intervention.
- Enhanced Security: These doors usually come with safety features to protect your chickens from predators.
With these benefits outlined, let’s move into the step-by-step installation process.
Step 1: Gather Your Tools and Materials
Before commencing with the installation of your chicken coop solar door, you'll need to gather some essential tools and materials. Here’s a checklist to ensure you have everything at hand:
- Solar chicken coop door (ensure it fits your coop size)
- Screwdriver (flathead and Phillips)
- Drill (with suitable bits for wood and metal, if applicable)
- Measuring tape
- Level
- Screws and anchors (usually included with the door)
- Safety glasses
Once you have all the materials ready, you can proceed with the installation.
Step 2: Choose the Installation Location
The location of your solar chicken coop door is critical for optimal solar performance and functionality. Here are some considerations to keep in mind:
- Sunlight Exposure: Choose a location that receives adequate sunlight throughout the day to ensure the solar panel functions effectively.
- Accessibility: Ensure the door is easily accessible for both you and your chickens.
- Height: Position the door at a height that prevents dangers such as predation while allowing your chickens to enter and exit comfortably.
Once you’ve identified the best spot, mark the area where you plan to install the door.
Step 3: Prepare the Door Frame
At this stage, you’ll want to prepare the door frame for installation. Here’s how to do it:
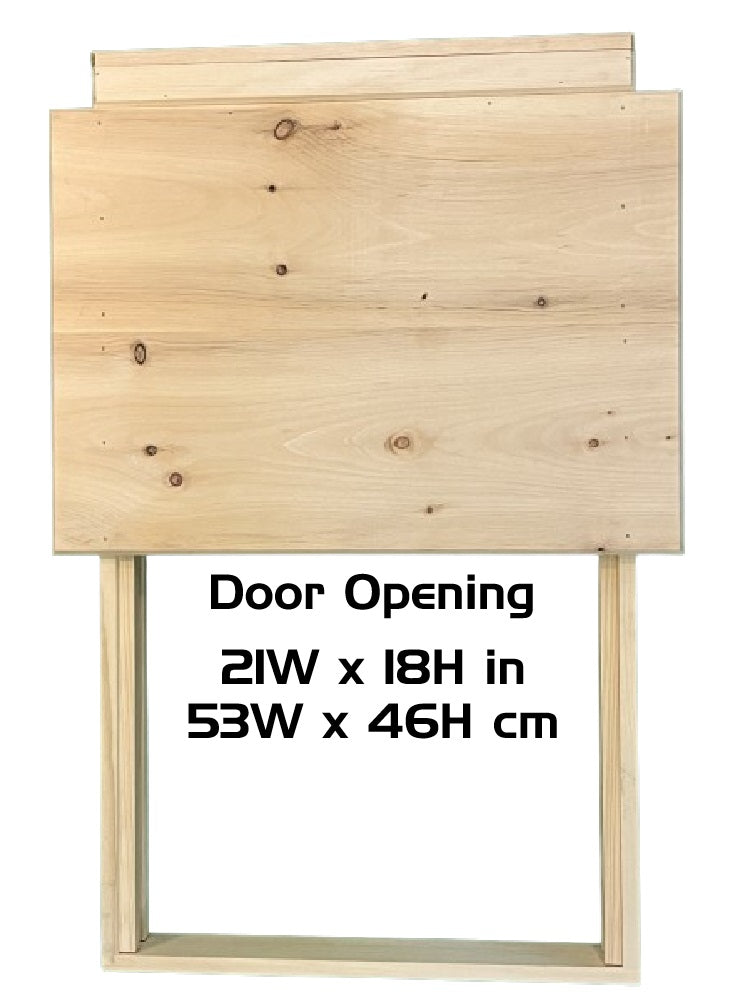
- Measure and Mark: Using your measuring tape, measure and mark the designated area for the door on the coop wall. Ensure the boundaries are level to avoid any misalignment.
- Cut the Opening: If you are retrofitting an existing coop, you might need to cut the opening. Use a saw to make precise cuts along your marked lines.
- Reinforce the Frame: If necessary, use wood or metal strips to reinforce the frame around your opening. This will provide added stability for the solar door.
Step 4: Install the Solar Door
With the frame prepared, it's time to install the chicken coop solar door:
- Align the Door: Position the door inside the opening, ensuring that it fits snugly. Use a level to confirm that it hangs straight.
- Secure the Door: Once aligned, secure the door using screws and anchors provided with the kit. Ensure that the hinges are well-placed and functional.
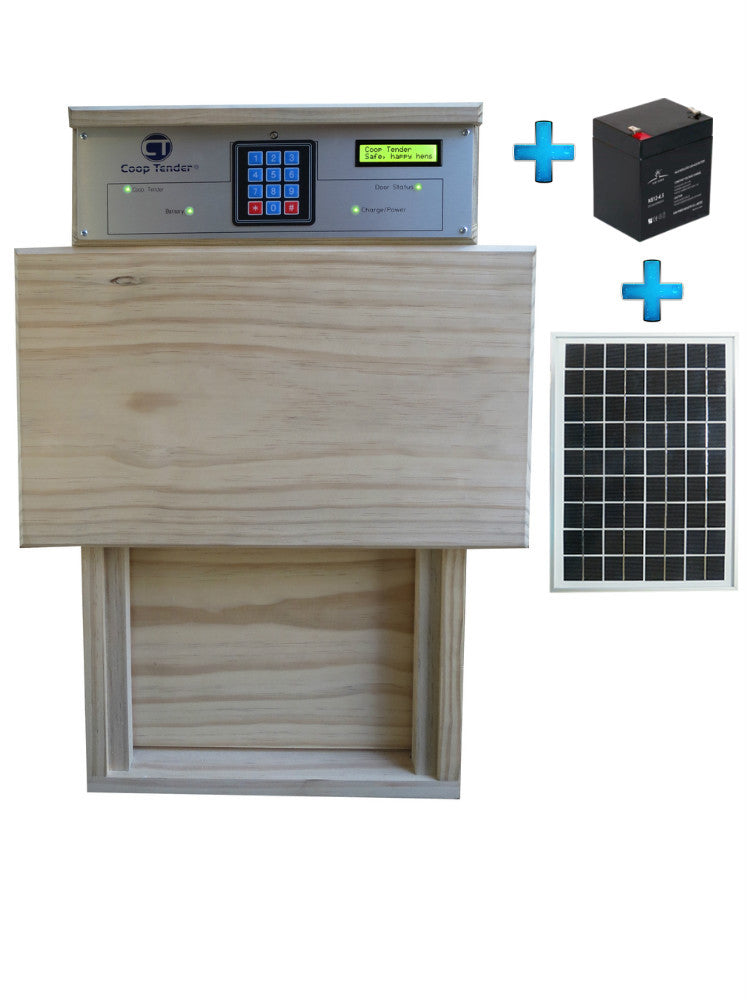
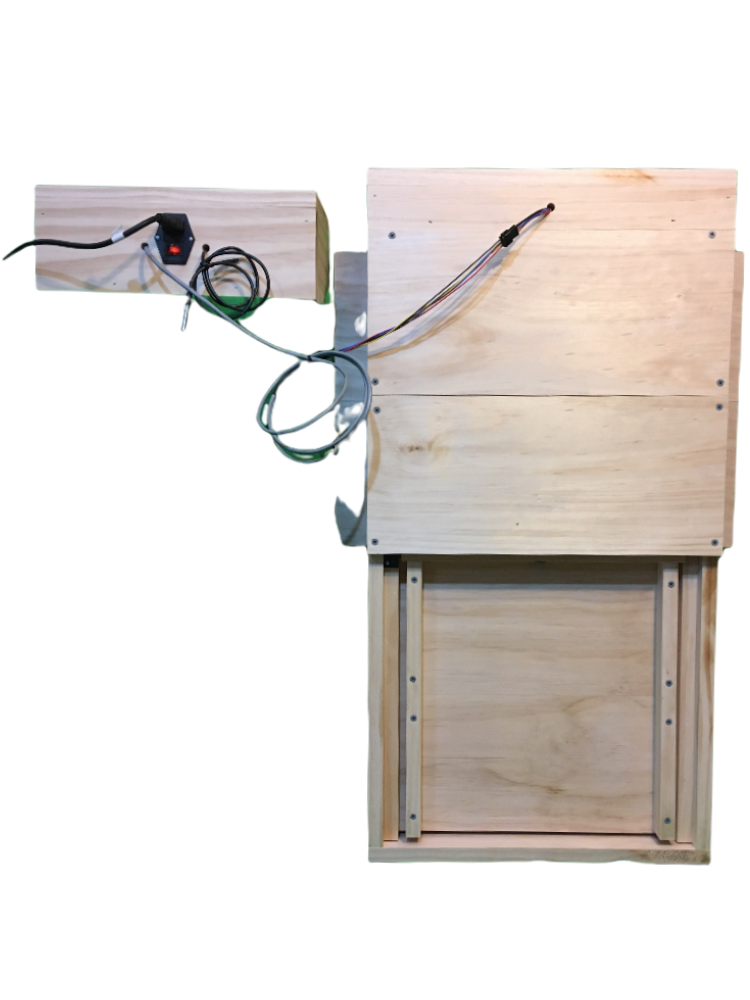
- Install the Solar Panel: Mount the solar panel in a location where it receives maximum sunlight. Follow the manufacturer’s instructions to wire it to the door.
Step 5: Test the Door
After everything is secured, it’s crucial to test the functionality of your new chicken coop solar door. Check whether the door opens and closes correctly, adjusting the settings if necessary. Some doors come with a timer or light sensor adjustments, so take the time to configure these settings to suit your needs.
Final Thoughts
Installing a chicken coop solar door is an excellent way to increase the efficiency of your chicken care routine. With proper installation, you'll enjoy the convenience of automatic doors, and your chickens will benefit from a secure and comfortable environment. Remember to periodically check the solar panel for cleanliness and ensure it remains unobstructed for optimal performance. By following the steps outlined in this guide, you’ll be well on your way to enjoying an improved setup with your chicken coop solar door. Happy chicken farming!



Hinterlassen Sie einen Kommentar