


Having trouble with your automatic chicken door? You're not alone. While automatic chicken coop doors are incredibly reliable, occasional issues can occur. This comprehensive troubleshooting guide covers the most common problems and their solutions, helping you get your door working properly again quickly.
compare automatic door systems
Quick Problem Identifier
Jump to your issue:
- Door Won't Open or Close
- Door Opens/Closes at Wrong Time
- WiFi Connection Problems
- Motor Running But Door Not Moving
- Power Issues
- Solar Panel Problems
- Door Moving Slowly or Making Noise
- Cold Weather Issues
- LED Status Light Meanings
Door Won't Open or Close
Symptom: The door doesn't respond when it should open or close automatically.
Check These First:
1. Power Source
- Verify the power switch is in the ON position (switch shows "-")
- Check that the power cord is securely plugged into both the controller and outlet
- Test the outlet with another device to confirm it's working
- If using battery backup, the battery may need charging
2. Obstruction Check
- Inspect the door track for debris, feathers, or bedding material
- Look for ice buildup in cold weather
- Remove any objects blocking the door's path
- Check if debris is interfering with movement
3. Manual Operation Test
- Try manually operating the door through the menu system
- If manual operation works, the issue is likely with timing/sensor settings
- If manual operation doesn't work, proceed to mechanical troubleshooting
Solution Steps:
For Dirty or Obstructed Mechanisms:
- Turn off power to the door
- Remove the back cover
- Spray WD-40 liberally on the worm drive (threaded rod)
- Manually move the door up and down several times
- Wipe the drive clean
- Repeat if necessary
- Replace back cover and restore power
Annual Maintenance Note: Perform this cleaning annually, or more frequently with densely populated coops. Dirt and feather particles accumulate on the drive mechanism over time.
Door Opens/Closes at Wrong Time
Symptom: The door activates too early, too late, or at incorrect times.
Common Causes:
1. Light Sensor Calibration
- Default light sensor settings may not match your coop's lighting conditions
- Nearby artificial lights can confuse the sensor
- Seasonal changes affect natural light levels
Solution:
- Access the programming menu
- Navigate to light sensitivity settings
- Adjust the open/close threshold values
- Test and fine-tune over several days
- Consider switching to timer mode if light sensor proves unreliable
2. Timer Settings
- Incorrect date-time settings
- Manual timer programming errors
Solution:
- Verify the current time in the controller menu
- Verify that times are entered in 24-hour format (Add 12 to any time after 12:00).
3. Temperature-Based Delays
- Some models delay operation in extreme cold to protect chickens
- This is normal behavior in temperatures below 15°F (-9°C)
WiFi Connection Problems
Symptom: Cannot access door remotely or WiFi module won't connect.
Understanding WiFi Module LED Status:
LED Color/Pattern - Meaning:
- Blinking Green - Attempting to connect to WiFi network
- Blinking Cyan - Connecting to Cloud Services
- Breathing Cyan - Successfully connected and online
- Blinking Red - Connection error or credential problem
Troubleshooting Steps:
1. Connection Won't Establish (Blinking Green Persists)
Problem: WiFi credentials entered incorrectly or network unavailable
Solution:
- Launch the Coop Tender WiFi Setup app on your smartphone
- Ensure Bluetooth is enabled on your phone
- Re-enter WiFi credentials carefully
- Double-check password for accuracy (passwords are case-sensitive)
- Ensure you're connecting to 2.4GHz network (5GHz not supported)
2. "Unable to Obtain IP Address" Error
Solution:
- Power cycle the door (switch off, wait 10 seconds, switch on)
- If problem persists, reboot your WiFi router
- Check if your router has MAC address filtering enabled
- Verify your network isn't at maximum device capacity
3. Module Connects Then Disconnects
Problem: WiFi module connects initially but loses connection
Solution:
- Check module placement - metal surfaces can interfere with signal
- Mount module on top of or above the door controller
- Keep the metal faceplate away from the direct line between module and router
- Consider WiFi range extender if coop is far from router
- Update router firmware if available
4. Cannot Access Universal Web App
First Login Issues:
- You need your Customer ID (order number: CTXXXXXX)
- Navigate to ctwifi.cooptender.com
- Select your authentication method (Google or custom account)
- Enter Customer ID when prompted (only required on first login)
Ongoing Access Issues:
- Clear browser cache and cookies
- Try a different browser
- Check if module shows breathing cyan (indicates cloud connection)
- Verify your internet connection is working
Motor Running But Door Not Moving
Symptom: You hear the motor running but the door doesn't move.
Diagnosis:
This indicates mechanical resistance or binding.
Primary Causes:
- Debris buildup on worm drive
- Door track misalignment
- Extreme cold causing lubricant to thicken
- Worn or dry drive mechanism
Solution Protocol:
Step 1: Lubrication and Cleaning
- Follow the complete maintenance procedure outlined above
- Pay special attention to removing all old, dirty grease
- After cleaning, apply a thin strip of lithium grease or beeswax to the worm drive
- Run the door through several open/close cycles
- Warning: Do not over-grease - use sparingly
Step 2: Check for Binding
- With power off, manually move the door
- Feel for any catching or tight spots
- If door binds at certain positions, check track alignment
- Verify mounting screws haven't loosened
Step 3: Severe Cases
- If buildup is extreme, you may need to manually turn the drive with a wrench
- Cover the drive threads with a towel to protect them
- Turn gently to break through buildup
- Apply WD-40 and work door up and down
Step 4: Listen for Chatter
- Clean drive should operate smoothly and quietly
- Chattering noise indicates insufficient lubrication
- Apply small amount of lithium grease or wax
Power Issues
Symptom: Door has no power, lights don't illuminate, or power is intermittent.
Battery-Powered Systems:
Battery Won't Charge
- Verify solar panel is connected correctly (red to red, black to black)
- Check that battery connections are secure inside controller
- Red wire has inline fuse - check if blown
- Battery may need replacement after 3-5 years
- Initial charge: plug in AC power for several hours before using solar
Battery Dies Quickly
- Solar panel may not be receiving adequate sunlight
- Check panel positioning (should face south in US, 10-30° angle)
- Clean solar panel surface of dirt and debris
- Battery capacity diminishes in extreme cold
- Consider switching to AC power during winter months
AC-Powered Systems:
No Power to Controller
- Test outlet with another device
- Check circuit breaker hasn't tripped
- Inspect power cord for damage
- Verify power switch is in ON position (shows "-")
- Check internal fuse if equipped
Intermittent Power
- Loose connection at controller or outlet
- Damaged power cord causing intermittent contact
- Loose battery connections (if battery backup installed)
- Check all connection points and reseat firmly
Solar Panel Problems
Symptom: Solar system not charging battery adequately.
Performance Optimization:
1. Panel Positioning
Optimal Setup:
- Face true south (US locations)
- Angle between 10-30° depending on latitude
- Prioritize afternoon sun exposure
- Clear of shadows from trees, buildings, roof overhangs
Common Positioning Mistakes:
- Panel facing east (morning sun only) - insufficient afternoon charging
- Completely vertical mounting - reduced charging efficiency
- Shaded location - even partial shade significantly reduces output
2. Seasonal Challenges
Winter:
- Shorter days mean less charging time
- Snow accumulation blocks panel surface
- Battery capacity reduced in cold temperatures
- Consider AC power supplementation in winter
Solution:
- Keep panel clear of snow
- Ensure panel has maximum exposure to available sunlight
- AC charge battery periodically during extended cloudy periods
3. Connection Problems
Check:
- Red wire from panel connects to red wire from controller
- Black wire from panel connects to black wire from controller
- All connections are secure and weather-protected
- Wire extensions (if added) are 20 AWG or thicker
- Wire nut connections sealed with silicon
4. Panel Performance
Testing:
- Solar panel should produce voltage on sunny days (use multimeter)
- Typical output: 18-20V in direct sunlight
- Clean panel surface improves efficiency
- Panel performance degrades slowly over 15-20 years
5. Battery Not Charging
Sequence:
- Battery must be installed BEFORE turning on solar panel
- Door must be on before switching solar panel on
- Initial AC charge recommended for several hours
- Battery takes multiple sunny days to fully charge from solar alone
Door Moving Slowly or Making Noise
Symptom: Door operates but moves slower than normal or makes unusual sounds.
Slow Operation:
Normal Causes:
- Buildup on drive mechanism creating resistance
- Cold weather thickening lubricants
- Battery running low (battery-powered systems)
- Normal aging of drive mechanism
Solutions:
- Perform worm drive cleaning maintenance
- In cold weather, door may naturally operate slower
- Check battery charge level
Unusual Noises:
Chattering Sound:
- Cause: Dry or under-lubricated worm drive
- Solution: Apply small amount of lithium grease or beeswax
Grinding Noise:
- Cause: Dirt/debris in drive mechanism
- Solution: Complete cleaning procedure with WD-40
Clicking:
- Cause: Loose mounting screws or components
- Solution: Check and tighten all mounting hardware
Motor Straining:
- Cause: Excessive resistance in mechanism
- Solution: Clean and lubricate drive, check for obstructions
Cold Weather Issues
Symptom: Door problems occur only during freezing temperatures.
Common Winter Challenges:
1. Ice Buildup
- Ice can form around door edges and track
- Prevents door from moving properly
- Most common in humid climates
Prevention:
- Keep door area well-ventilated
- Ensure proper coop ventilation to reduce moisture
- Remove ice manually when present
2. Battery Performance
- Battery capacity significantly reduced below 20°F (-7°C)
- Solar charging minimal during short winter days
- Battery may struggle to provide enough power
Solutions:
- Switch to AC power during coldest months
- Keep battery charged with periodic AC charging
- Some cold-weather batteries perform better than standard lead-acid
- Consider battery upgrade if frequent cold weather operation needed
3. Lubricant Thickening
- Grease becomes stiff in extreme cold
- Door operates slowly or with difficulty
Solution:
- Use low-temperature lithium grease
- Light application of WD-40 improves cold weather performance
4. Delayed Operation
- Controllers may delay operation in extreme cold to protect chickens
- Normal behavior below 15°F (-9°C)
- Door will operate once temperature rises slightly
Winter Operation Tips:
- Perform maintenance before winter arrives
- Clean drive mechanism thoroughly
- Apply appropriate cold-weather lubricant
- Test operation during first cold snap
- Consider AC power instead of solar during winter months
- Keep solar panel clear of snow
- Monitor battery charge more frequently
LED Status Light Meanings
Understanding your controller's LED lights helps diagnose problems quickly.
WiFi Module LED Indicators:
| Color/Pattern | Status | Action Needed |
|---|---|---|
| Blinking Green | Connecting to WiFi network | Wait 15 seconds; if persists, check credentials |
| Blinking Cyan | Connecting to Cloud Services | Normal startup; wait for breathing cyan |
| Breathing Cyan | Connected and Online | Normal operation - no action needed |
| Blinking Red | Connection Error | Check network connection; may need reconfiguration |
| Solid Red | Critical Error | Power cycle system; contact support if persists |
Controller Status LEDs:
Door Status Indicator:
- Red = Door fully open
- Green = Door fully closed
- Blinking Green = Door in motion
- Blinking Red = Door in mid-position
Power Indicator:
- Steady light = Normal operation
- No light = Check power source
- Flickering = Possible power supply issue
Preventive Maintenance Schedule
Avoid most problems with regular maintenance:
Annual Tasks:
- Complete worm drive cleaning and lubrication
- Inspect all wiring connections
- Check mounting screw tightness
- Clean solar panel surface
- Inspect power cord for wear
- Test battery performance
Every 3-6 Months:
- Quick visual inspection of mechanism
- Remove accumulated debris from track
- Verify timing settings are still accurate
- Test manual and automatic operation
As Needed:
- Clean after exceptionally dusty conditions
- Remove ice buildup in winter
- Clean solar panel after storms or heavy pollen
- Adjust light sensor settings seasonally
When to Contact Support
Contact Coop Tender support when:
- Problems persist after trying all troubleshooting steps
- You suspect a component failure (motor, controller, sensor)
- Physical damage to door or controller
- Warranty questions or concerns
- Need replacement parts
- Unusual behavior not covered in this guide
Have Ready When Calling:
- Your Customer ID (order number: CTXXXXXX)
- Door model number (CT-003, CT-004, CT-005, CT-006, or CT-007)
- Description of the problem
- What troubleshooting steps you've tried
- Photos of issue (if applicable)
Contact Information:
- Email: info@cooptender.com
- Phone: (888) 217-1958
- Response time: Within 1 business day
Related Resources
Owner's Manuals and Documentation: Visit CoopTender.com/manuals for complete owner's manuals and quick start guides.
Replacement Parts: Browse available replacement parts and accessories at cooptender.com.
Installation Guides:
- How to Install an Automatic Chicken Coop Door
- Solar Panel Installation Guide
- WiFi Module Setup Instructions
Product Information: Learn about Coop Tender automatic chicken coop doors and find the right door for your flock size.
Frequently Asked Questions
Q: How often should I clean and lubricate my door? A: Perform thorough maintenance annually, or more frequently if you have a densely populated coop. Quick inspections every 3-6 months help catch issues early.
Q: Can I use regular grease on the worm drive? A: Use lithium grease sparingly, or beeswax/paraffin wax. Don't over-grease as this attracts dirt. WD-40 is excellent for cleaning but not long-term lubrication.
Q: My door worked fine for years and suddenly stopped. What happened? A: Most likely dirt and feather particle buildup on the worm drive. This is the #1 cause of problems in older installations. Follow the cleaning procedure and your door should work like new.
Q: Will my solar-powered door work in winter? A: Yes, but with limitations. Short days and weak sunlight mean less charging. Battery capacity also decreases in cold. Consider switching to AC power or supplemental AC charging during winter months.
Q: Why does my door sometimes not move when the timer activates? A: Check for obstructions, frozen mechanisms (winter), or buildup on the drive. Also verify the door isn't being blocked by debris.
Q: How do I reset my WiFi module? A: Power cycle the door (switch off, wait 10 seconds, switch on). To reconfigure WiFi: put module in setup mode using the WiFi Setup app, then enter new credentials.
Q: My battery seems to die faster than it used to. Is this normal? A: Lead-acid batteries typically last 3-5 years before capacity degrades significantly. If your battery is older, replacement may restore performance. Cold weather also reduces battery capacity temporarily.
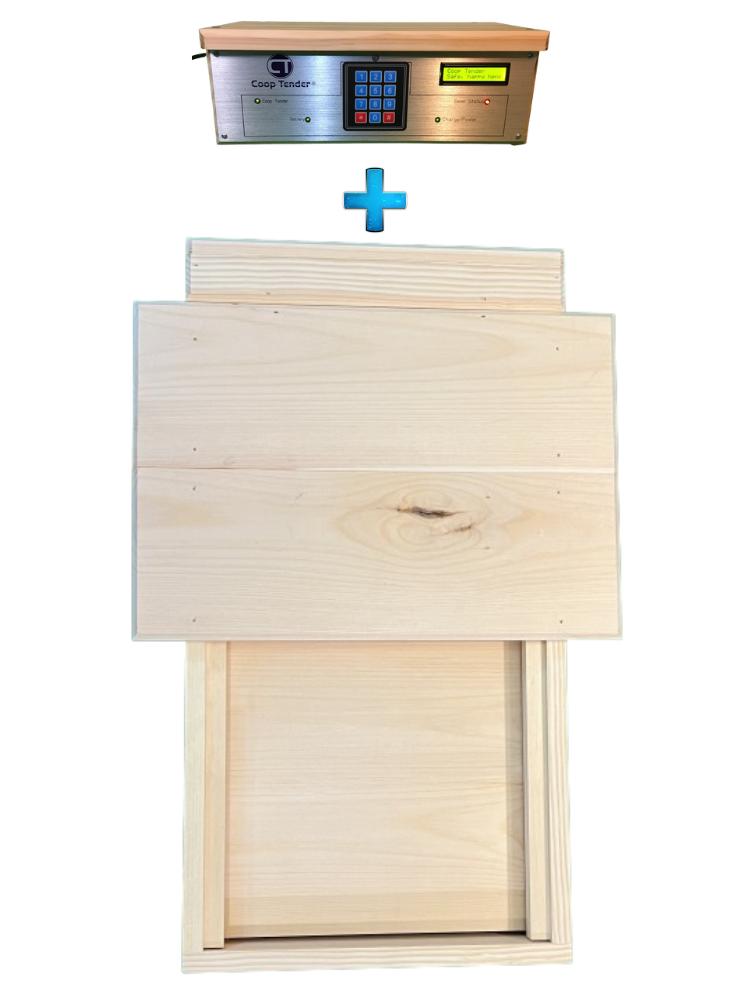
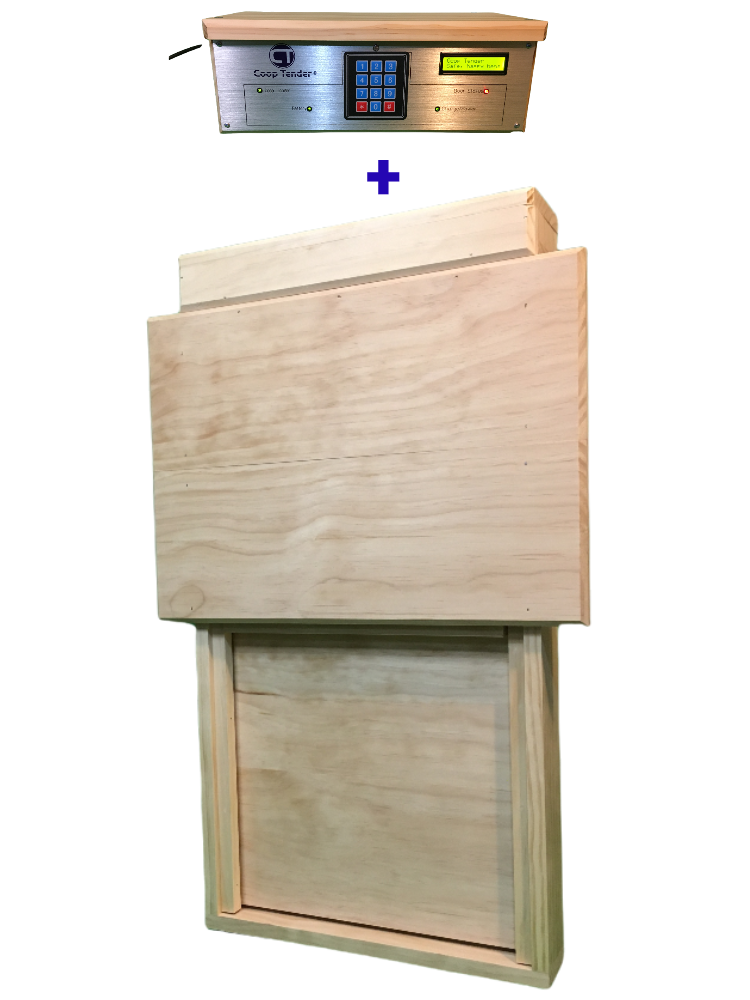
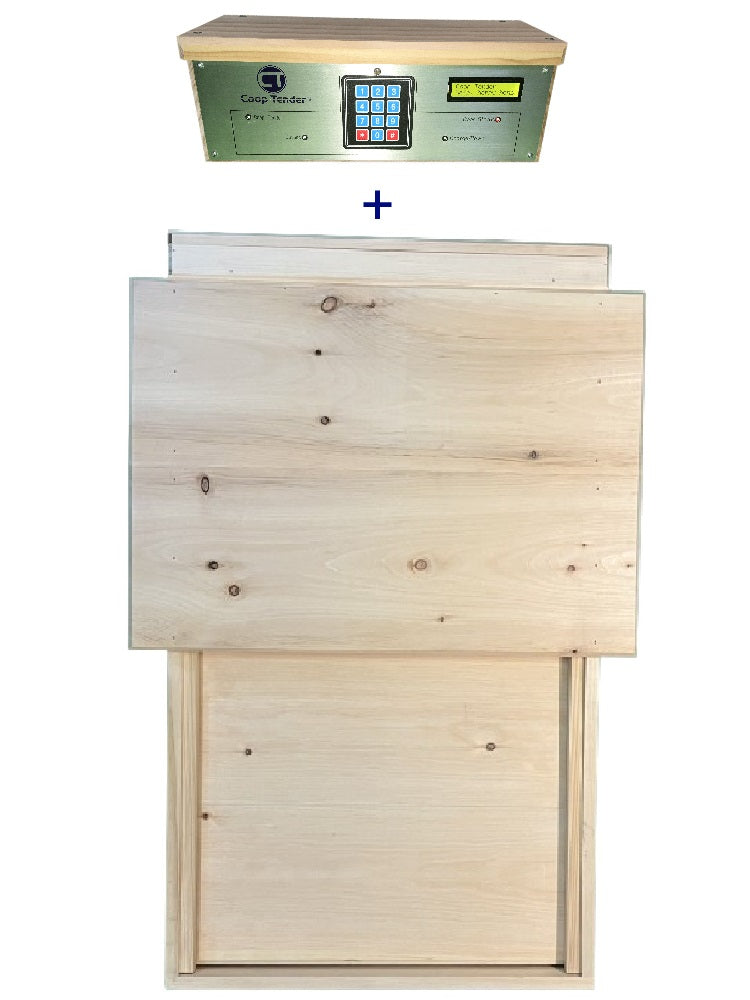
Q: Can I mount the controller separately from the door? A: Yes, separate controller models are available. These include a grey cable to connect to the door unit, allowing remote mounting. Maximum distance depends on cable length.
Summary: Most Common Issues and Quick Fixes
1. Door Won't Move:
- Check power and connections
- Remove obstructions
- Clean the worm drive with WD-40
2. Wrong Timing:
- Adjust light sensor sensitivity
- Verify timer settings
- Check for interference from artificial lights
3. WiFi Problems:
- Power cycle door and router
- Verify 2.4GHz network credentials
- Improve module placement/signal strength
4. Winter Issues:
- Remove ice buildup
- Switch to AC power
- Keep battery charged
- Use cold-weather appropriate lubricants
5. Slow Operation:
- Clean worm drive mechanism
- Apply appropriate lubrication
- Check battery charge (solar models)
Most automatic chicken door problems can be resolved with basic troubleshooting. Regular maintenance prevents the majority of issues. When in doubt, don't hesitate to contact Coop Tender support - they're committed to keeping your flock protected.
Last Updated: October 2025
This guide covers troubleshooting for all Coop Tender automatic chicken coop door models, including standard electric doors, solar-powered systems, and WiFi-enabled models. For specific product questions, refer to your model's owner's manual.
Leave a comment